
Plotagraph: How to make animated Videos or GIFs from a single photo
Plotagraph is a relatively new APP for iPhones that I have been using to create and post a few animated photos on my Instagram account. Every time I do so, I get a lot of messages from you guys asking how I achieve this effect and what I use. In this post I will try to explain all you need to know to create this yourself.
TEXT, FOTOS & VIDEO: SUSANNE KRIEG
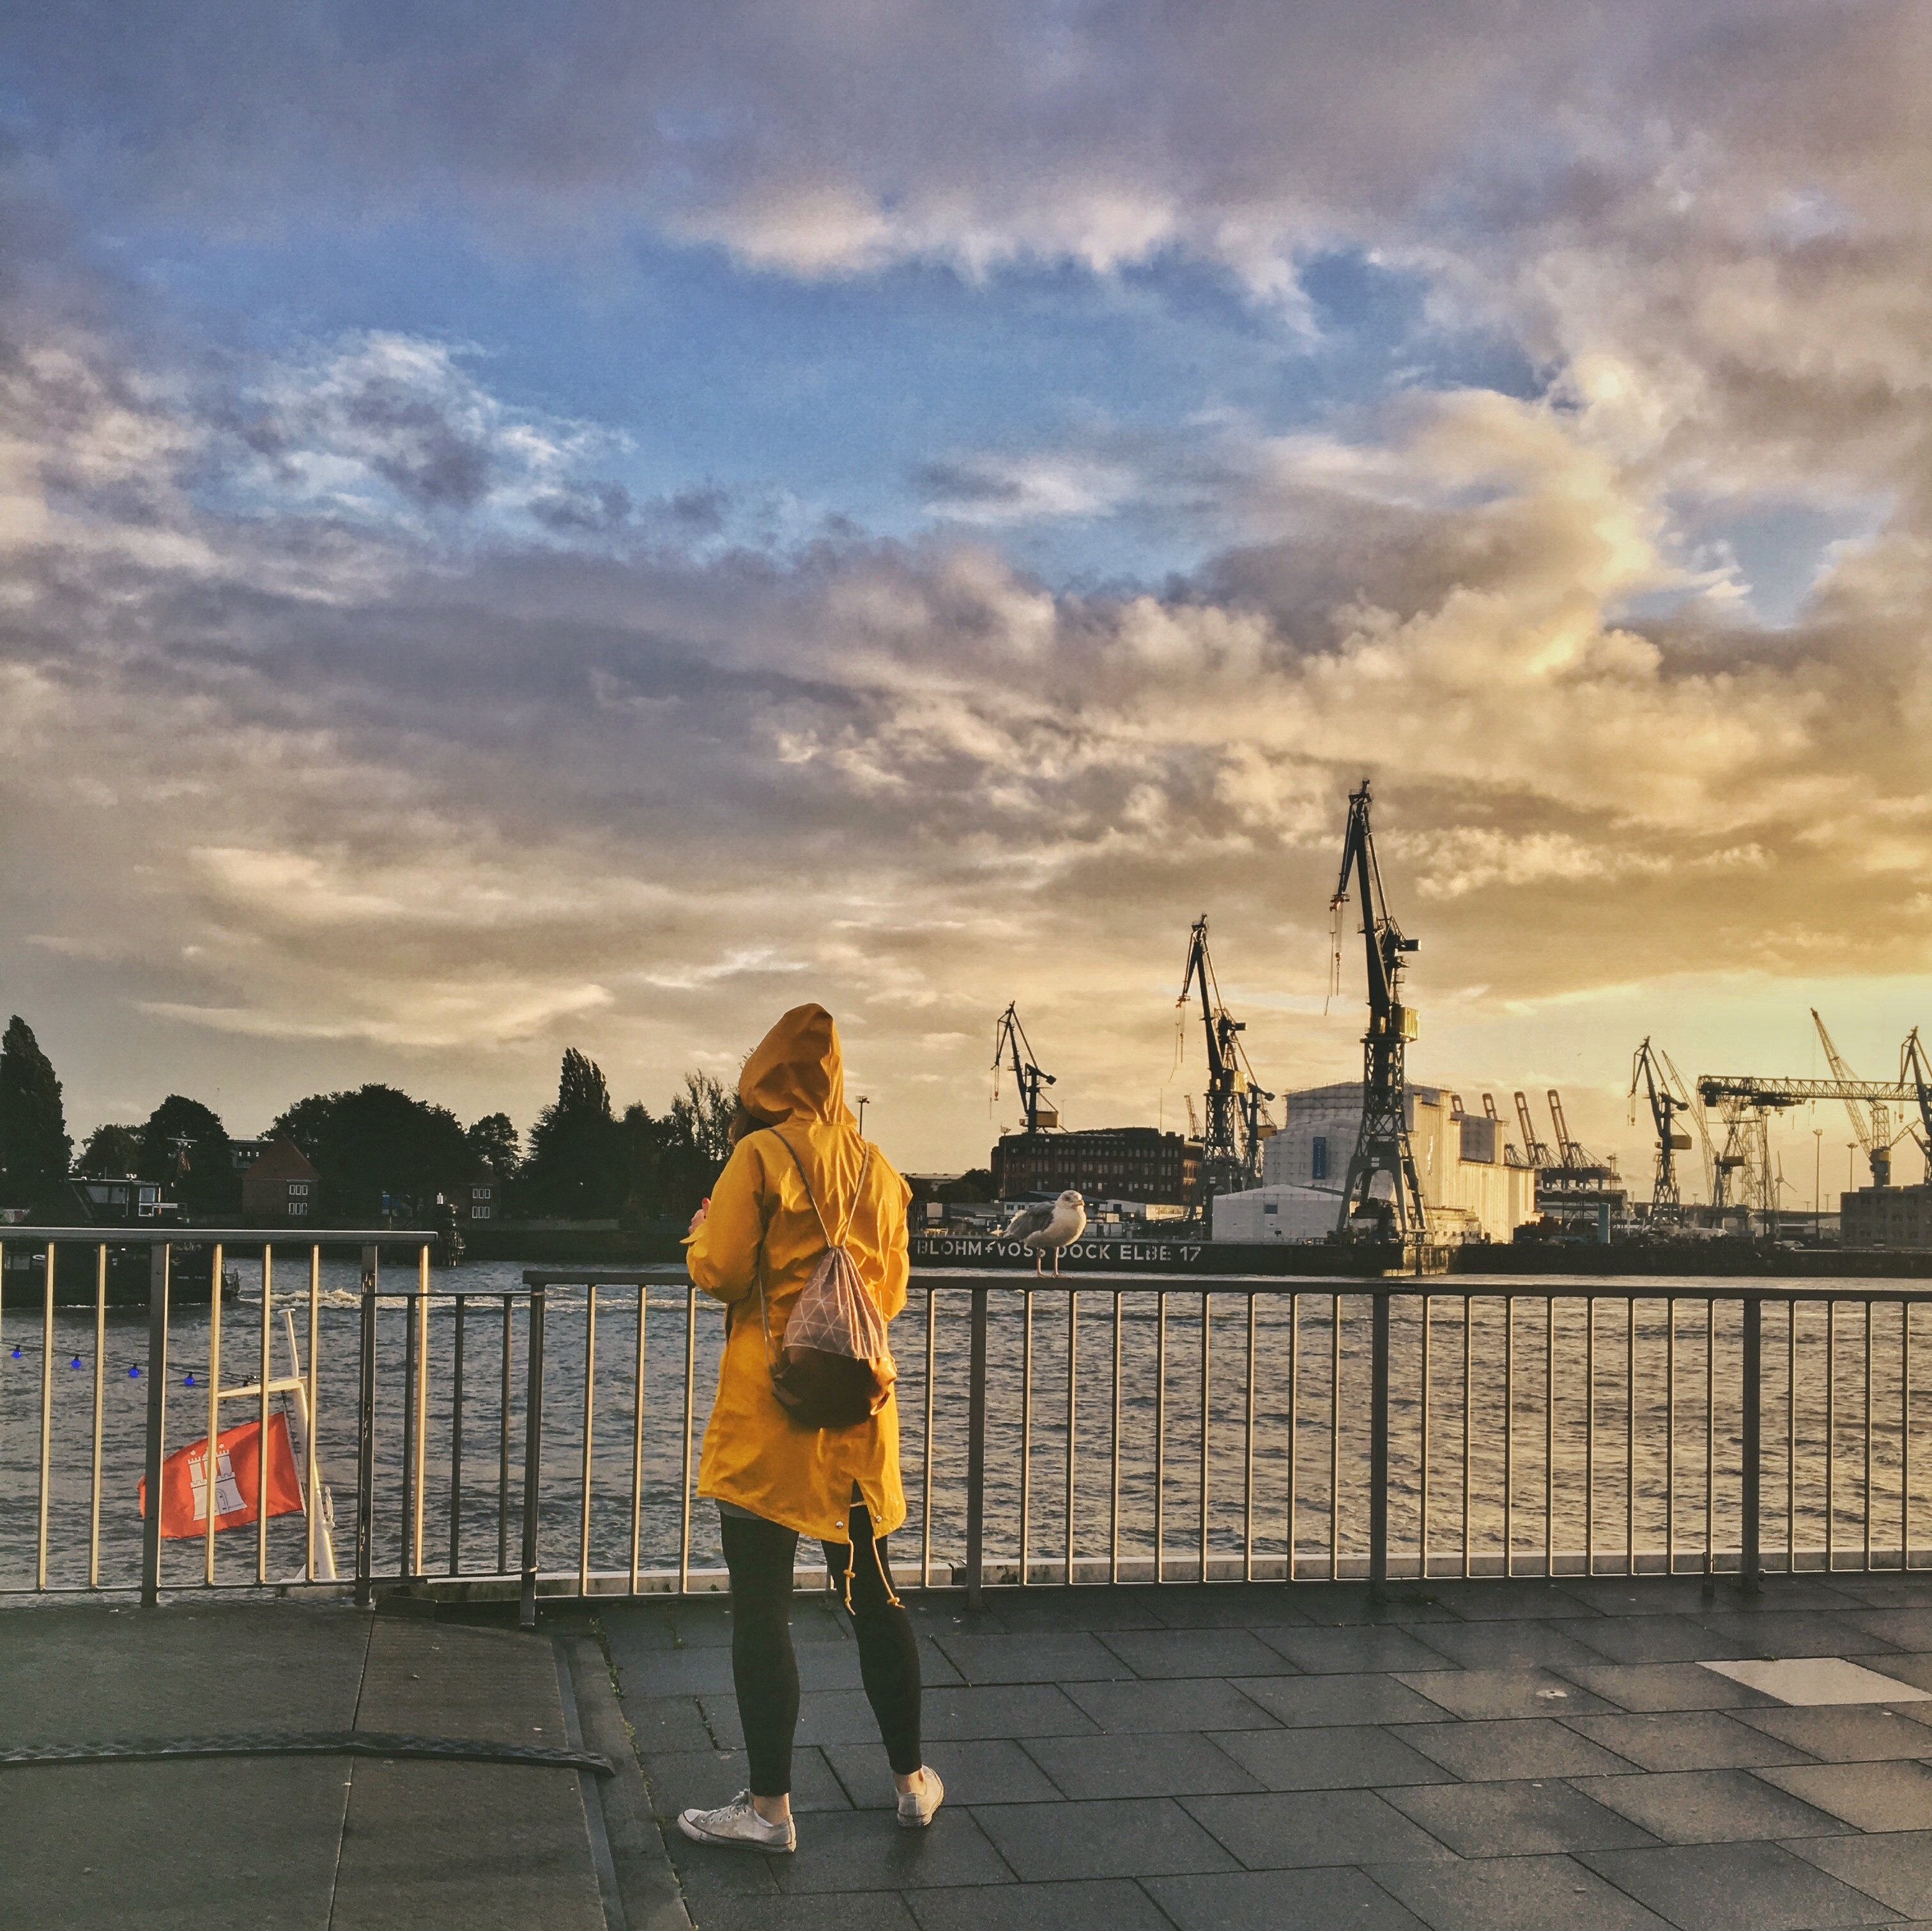
The lady in the yellow raincoat at Landungsbrücken, St. Pauli, is one of the last Plotagraphs I posted on my Instagram-Account. I’ll show you in a few steps below what I did to create it with just a simple photo from my iPhone gallery and the Plotagraph APP.
Step 1


After having downloaded the Plotagraph APP onto your iPhone (sorry, it only works on IOS so far – but an android version is in the making – and yes, the 4,99 Euro are definitly worth it!), you open it and press the “+”-Button at the bottom to load a picture from your iPhone gallery that you want to animate. As a beginner I’d recommend not to chose too complex pictures. In order to practice, it’s best to have a picture with clear layers not mixed too much with one another.
Step 2
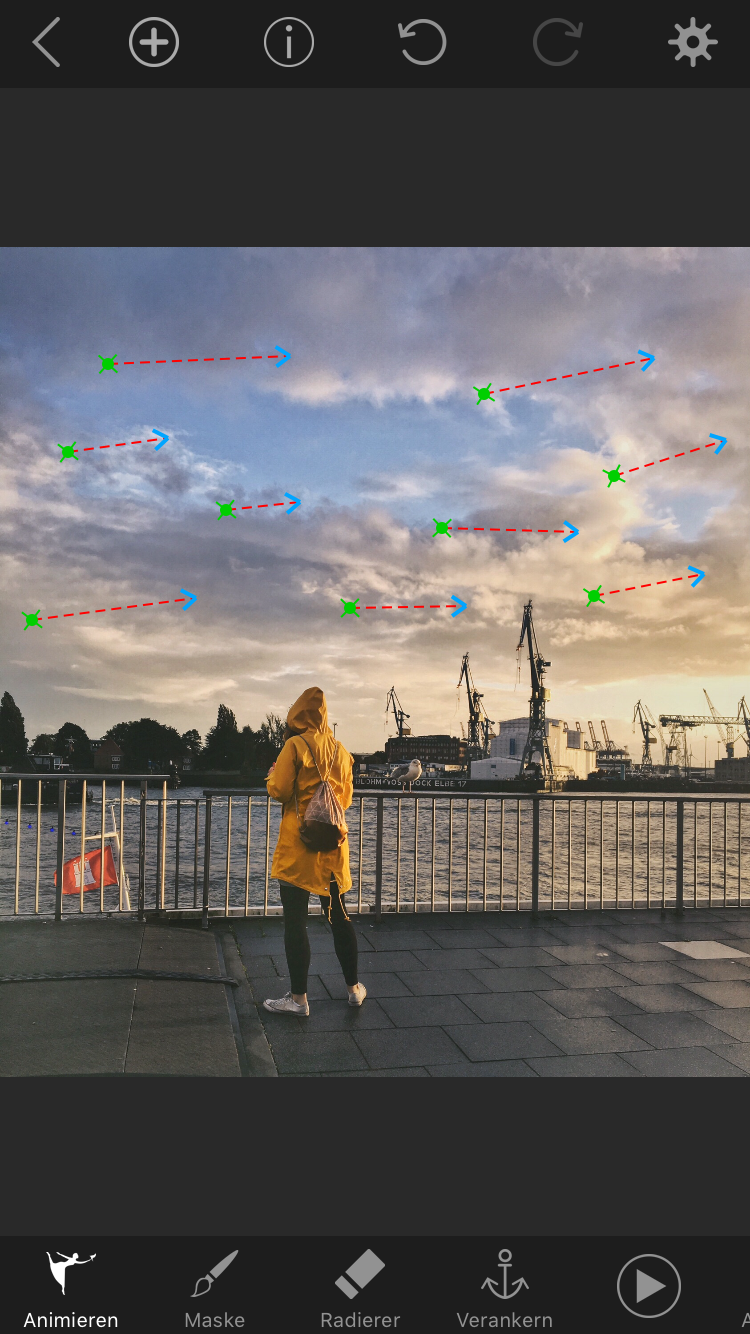
So this is the picture we want to work on. What you do now is select the “Animate” – button (or the dancer) at the bottom and draw a few lines into the direction you want a certain part of the picture to be moving. Don’t draw too many lines. Just a few, some longer, some shorter… That’ll do.
Step 3

If you press the “Play”-Button at the bottom, you’ll see that for now the hole picture is moving into the direction of the arrows you have drawn onto the pic. No, that’s not what you want…
Step 4
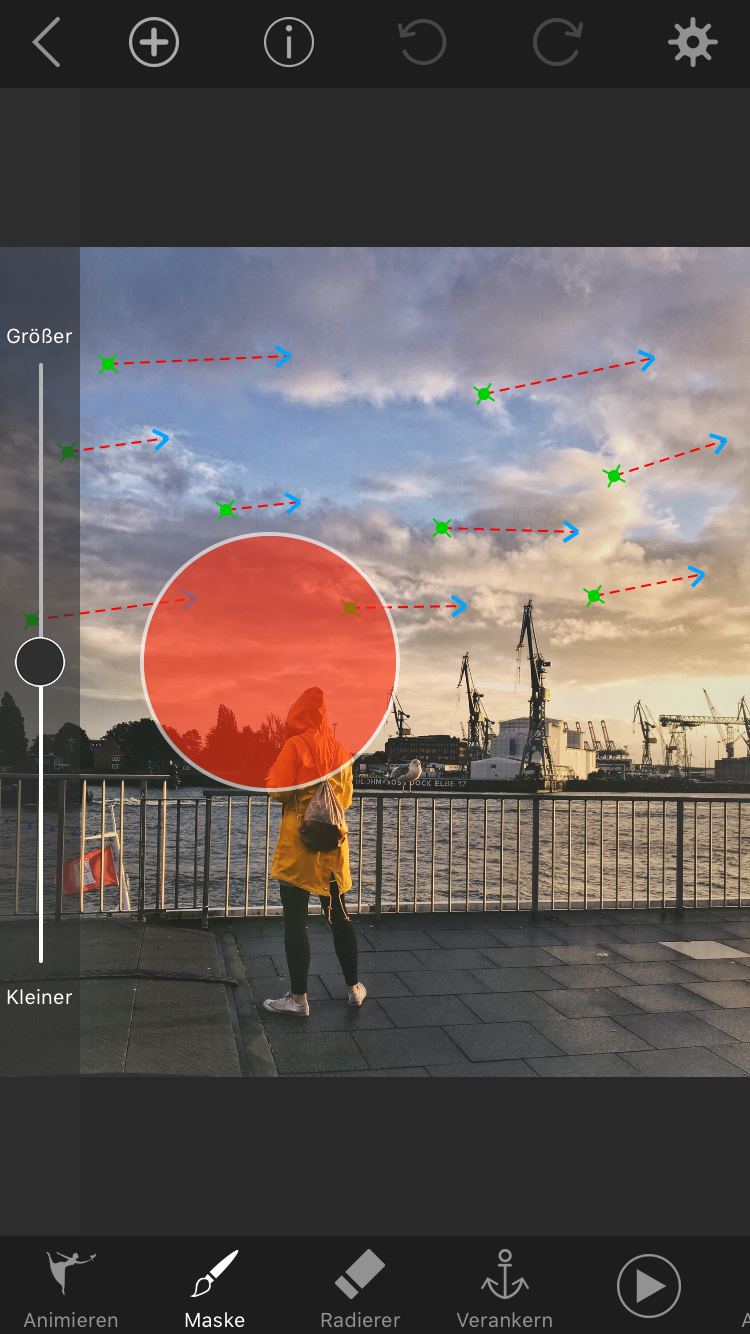
Now you want to mask out the areas you don’t want to be animated but stay static by choosing the brush below. The the red dot is the masking brush. But you need to make its seize smaller to be as precise as possible on the details like for example the cranes. This is achieved with the sidebar on the left. You can make the red dot smaller by moving the black button down.
Step 5
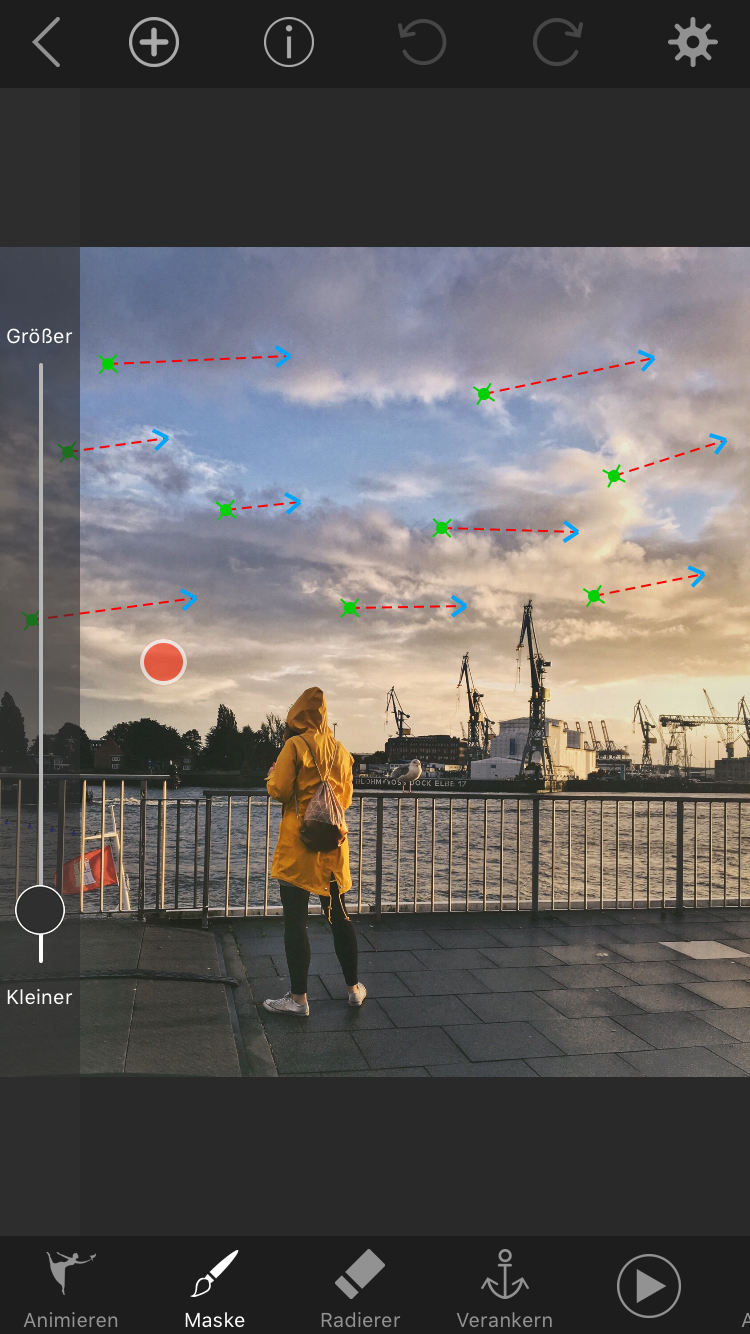
This is a decent seize for me to work on this picture. There is one more trick to help you be more precise…
Step 6

… you zoom into the picture or parts of it by touching the screen and enlarging it with two fingers. Now it gets even more easy to mask exactly the parts that you want to stay static.
Step 7
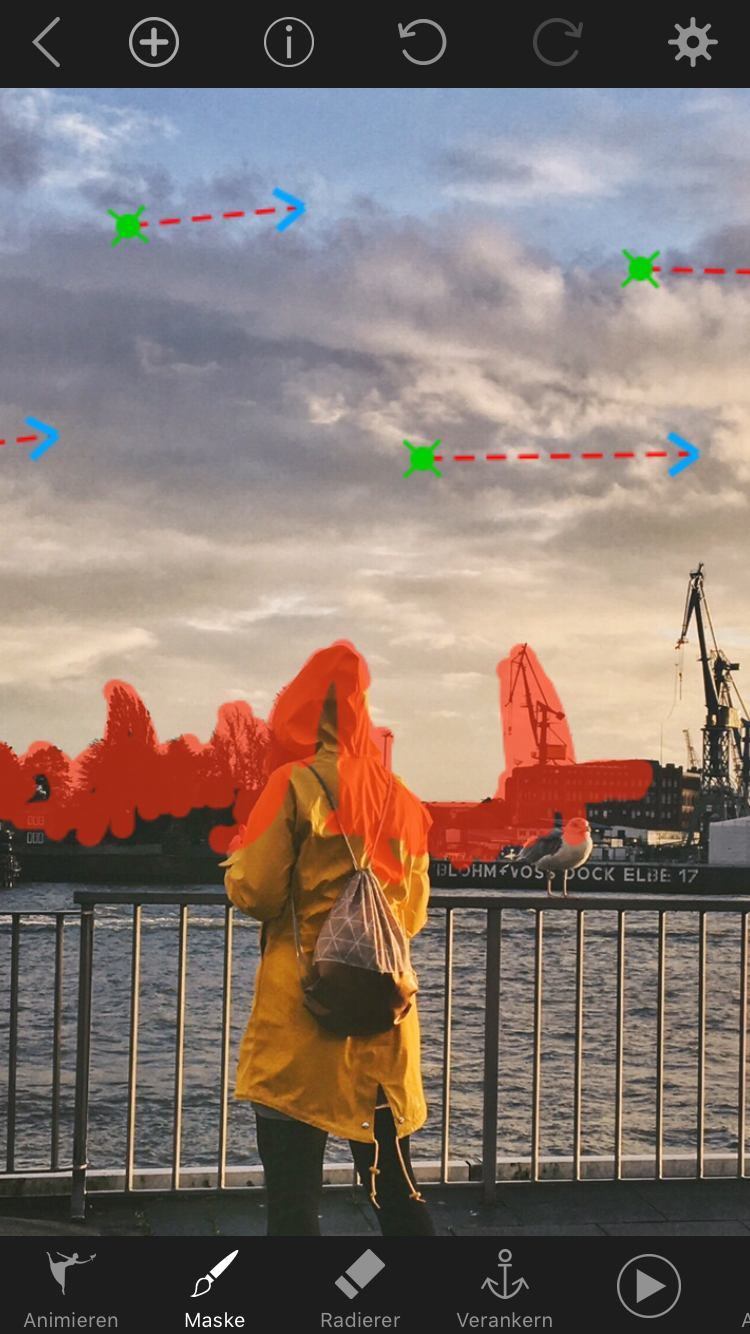
Now you draw everything red which is not supposed to be animated.
Step 8
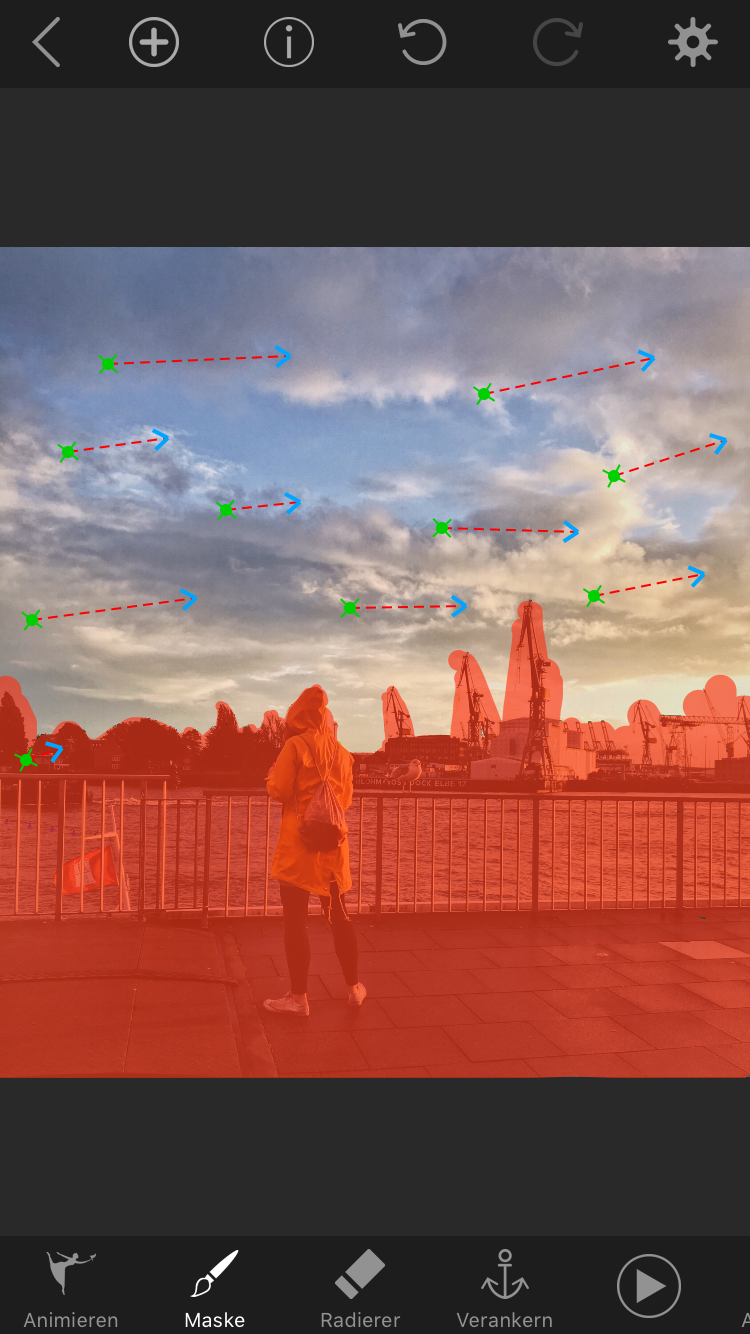
… till it looks something like this! We’re almost done now.
Step 9
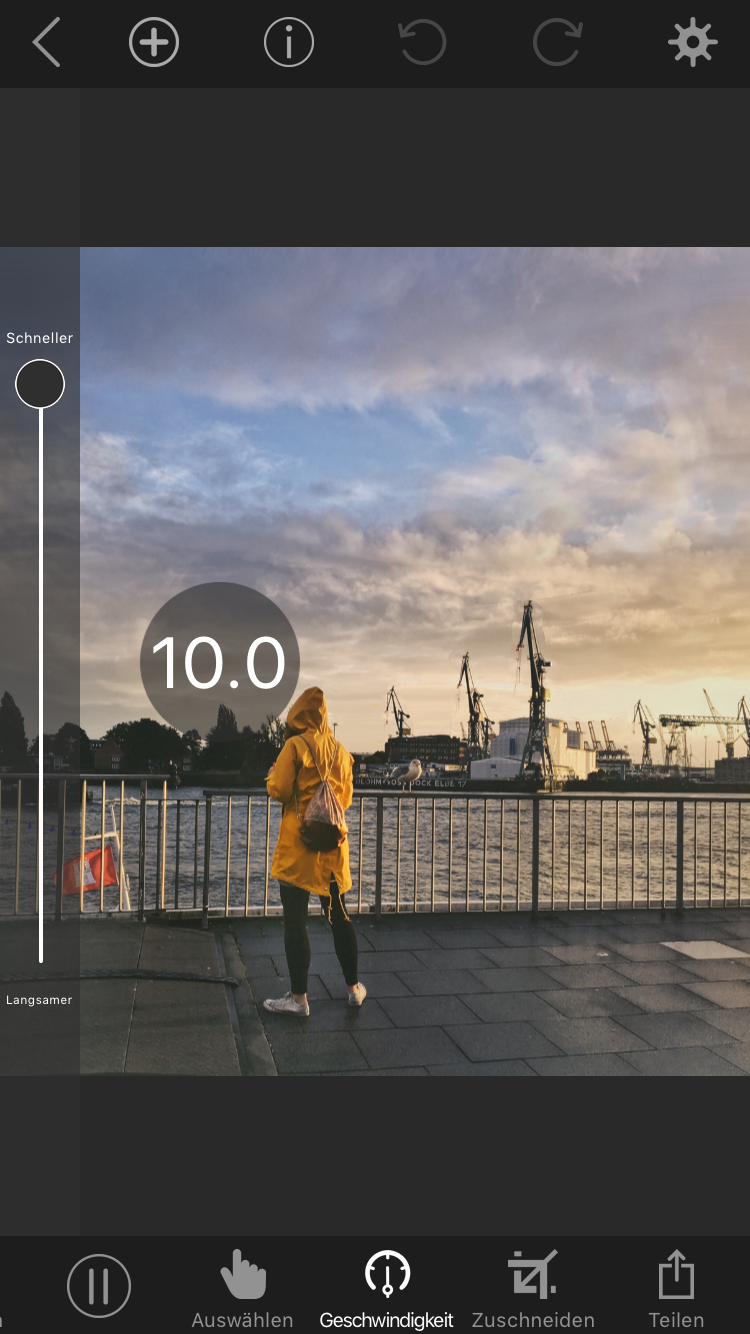
Press the “Play”-button at the bottom to check the results. You can also adjust the speed of the animation with the “Speed”-button. 10.0 is the fastest it can get. It depends what you want for your photo.
Step 10
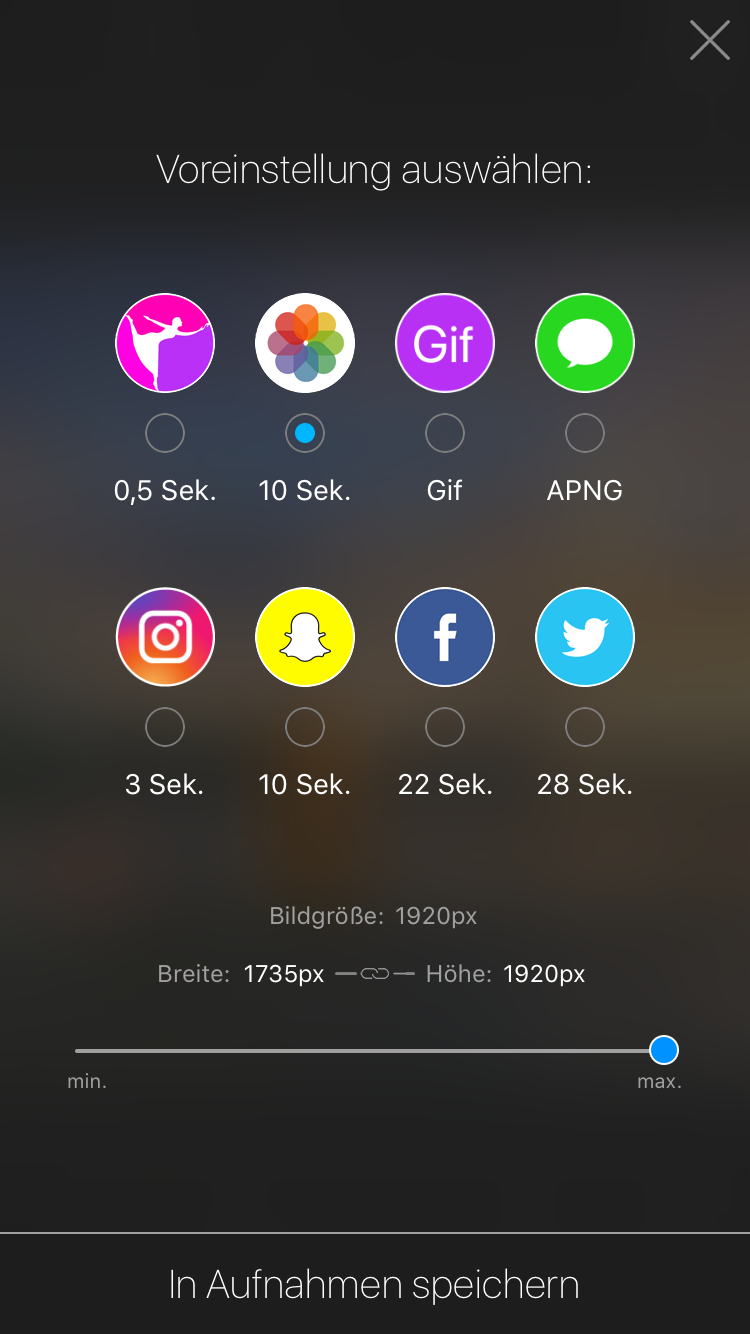
Now all you have to do is download the sequence as a video clip or GIF (APNG is another option) to you iPhone gallery. You can also choose the file seize as well as the length: 3, 10, 22 or 28 seconds, depending on where you want to publish it. Easy, isn’t it?
—
Do you know my mobile photo safari? 15 photogenic hot spots at Sternschanze, harbour front, warehouse district & citiy centre. Click here!

—